The following steps will show you how to prepare RHEL9 image to provision to VCD cloud.
1 . Prepare a VM in VCD and boot with RHEL9 ISO.
2 . Setup the items marked with exclamation mark below:
3 . Configure the Disk
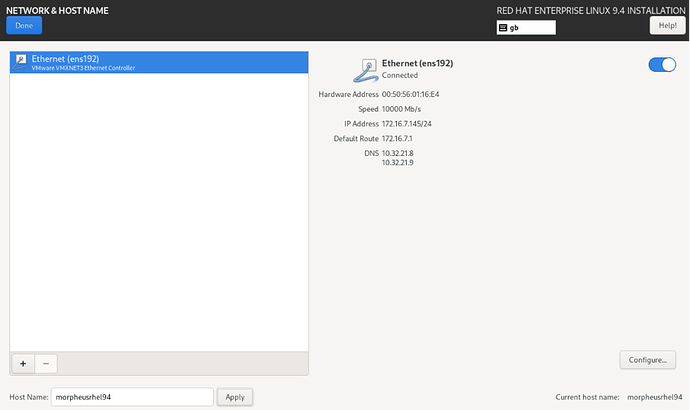
4 . Network (using DHCP in this example)
5 . Setup root password (Check ‘Allow root SSH login with password’)
6 . Connect to Red Hat
7 . Software selection (choose as required).
8 . Click ‘Begin the installation’.
9 . Once the installation is completed, Reboot the VM.
10 . Logon to the VM with the root password.
11 . Run the following commands:
a. yum update
b. yum install perl
c. yum install open-vm-tools
d. yum install NetworkManager-initscripts-updown
12 . Edit the following file:
/etc/ssh/sshd_config.d/50-cloud-init.conf
13 . Set ‘PasswordAuthentication yes’ and save.
14 . Check the following file and set ‘PermitRootLogin yes’ if set to ‘no’
/etc/ssh/sshd_config.d/01-permitrootlogin.conf
15 . Shutdown the VM.
16 . Remove any attached media.
17 . Convert to template
18 . In Morpheus, run a cloud sync on the integrated VCD cloud.
19 . After the cloud sync edit the synced image we’ve just created as shown below:
a. Check ‘VMware Guest Customization’.
b. Check ‘Install Agent’.
c. Specify the existing root user and password on the image
20 . Edit the integrated VCD cloud in Morpheus and set the Agent Install Mode to ‘Cloud Init / Unattend, if not already set.’
(This is important if you require Morpheus to create users on the provisioned instance during deployment)


